Pillsbury Biscuit Garlic Butter Cheese Bombs
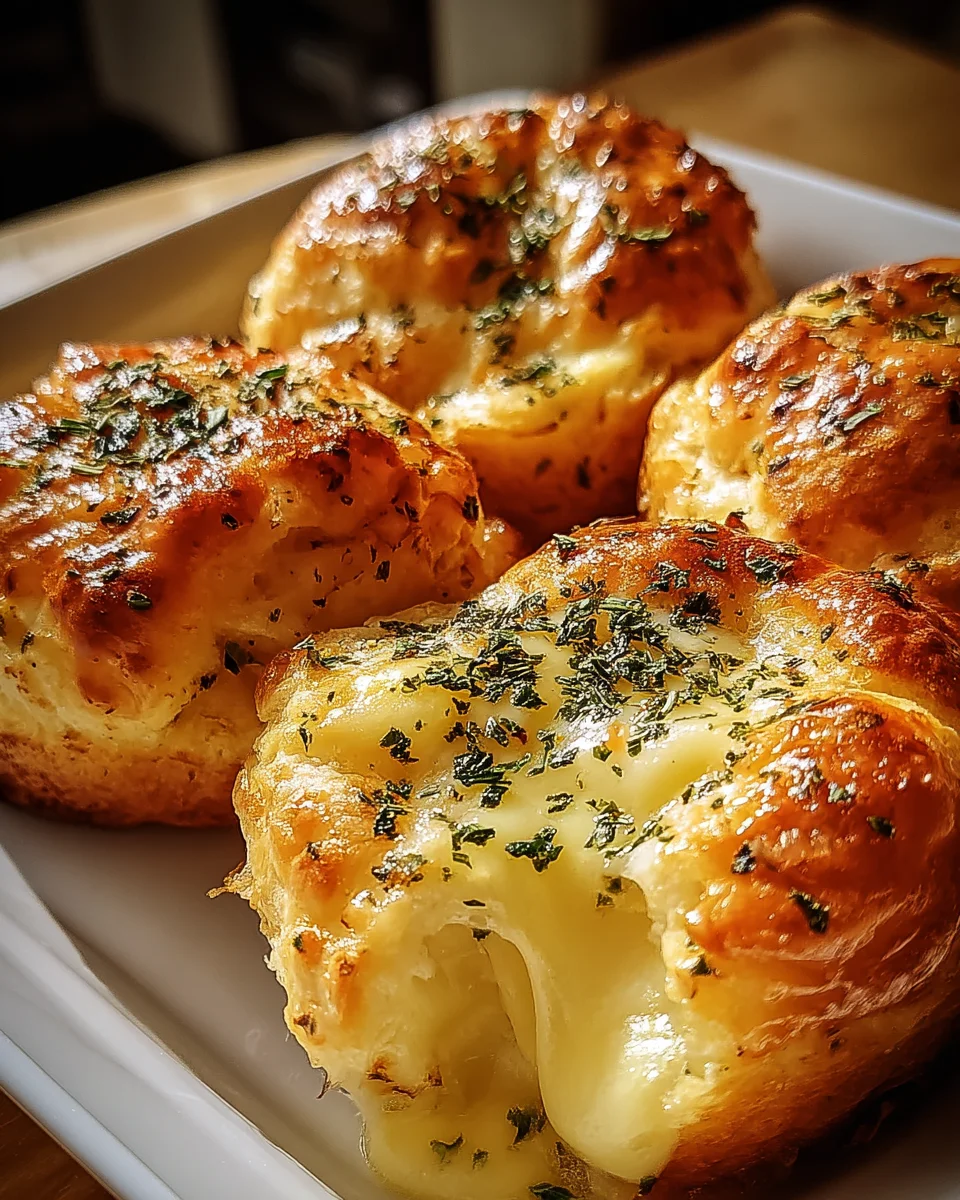
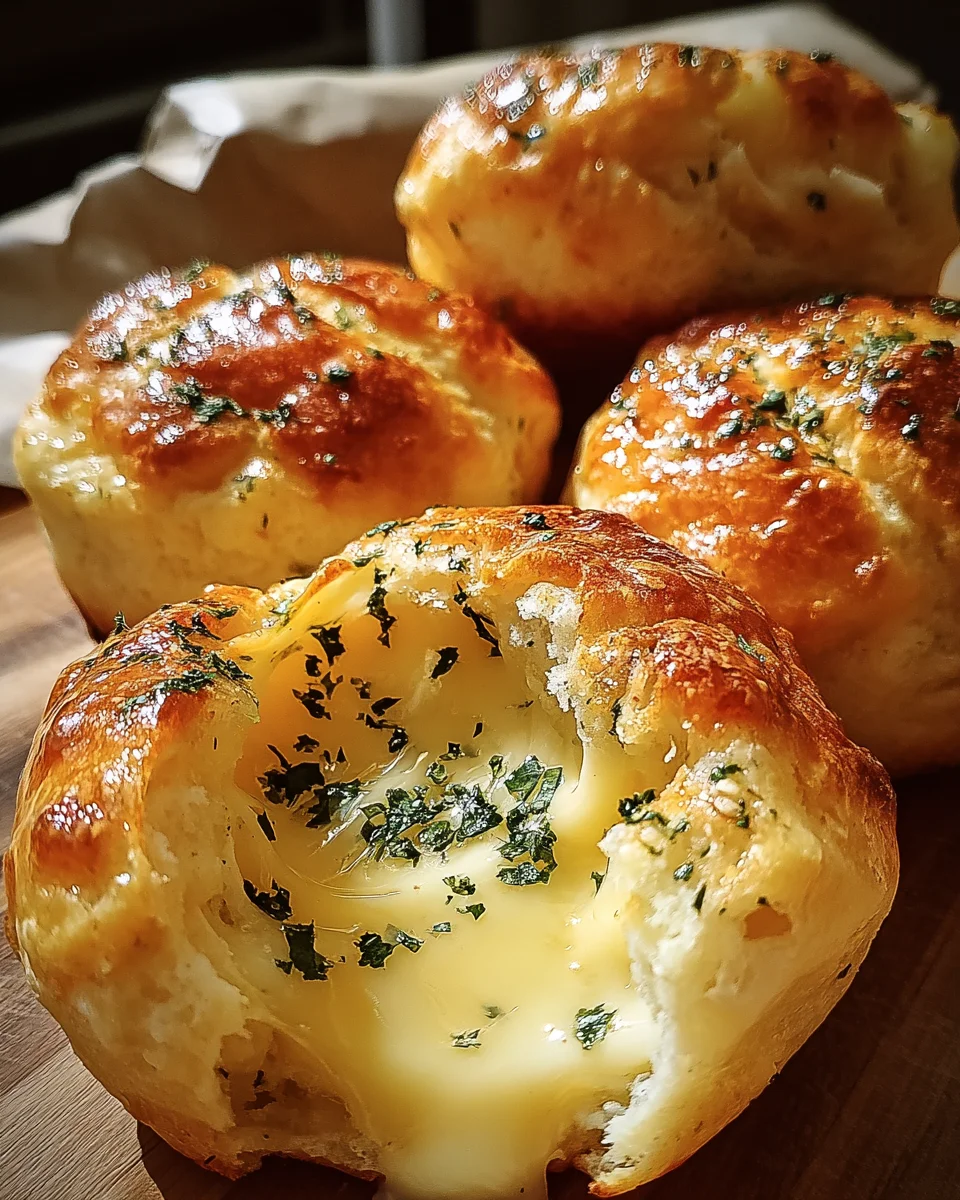
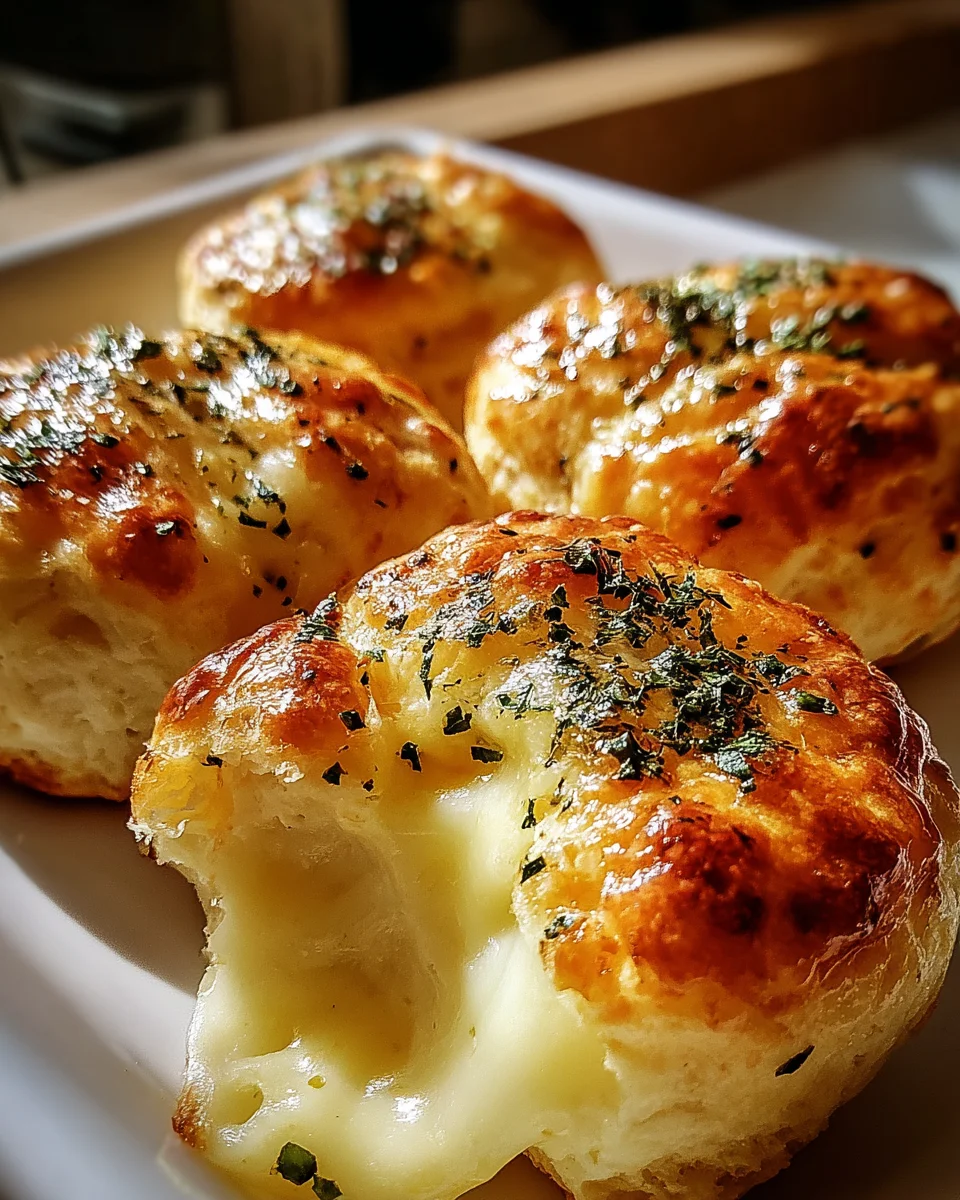
Pillsbury Biscuit Garlic Butter Cheese Bombs are a delightful addition to any meal. These easy-to-make bites combine the buttery, flaky goodness of Pillsbury biscuits with gooey cheese and aromatic garlic butter. Perfect for appetizers, game day snacks, or even a quick side dish, these cheesy bombs are sure to impress your family and friends. With minimal prep time and ingredients you likely already have at home, this recipe is a must-try!
Why You’ll Love This Recipe
- Quick Preparation: This recipe takes only 30 minutes from start to finish, making it ideal for busy weeknights.
- Crowd-Pleaser: With their cheesy center and buttery flavor, these bombs are perfect for gatherings.
- Versatile Appetizer: Serve them at parties, game days, or as a fun side dish with soup or salad.
- Simple Ingredients: Made with common pantry staples, there’s no need for specialty items.
- Customizable Flavor: Feel free to add your favorite herbs or spices for a personal touch.
Tools and Preparation
Having the right tools makes the cooking process smoother and more enjoyable. Here are some essential items you’ll need.
Grab This Chef Knife Now - Almost Gone!
- Stays Razor-Sharp: Ice-hardened blade keeps its edge longer than ordinary knives
- Superior Grip Control: Unique finger hole design gives you perfect balance and safety
- Built to Last a Lifetime: Premium stainless steel blade with elegant beech wood handle
Customer Reviews ★★★★★
Essential Tools and Equipment
- Baking sheet
- Mixing bowl
- Pastry brush
- Measuring cups and spoons
Importance of Each Tool
- Baking sheet: Provides an even surface for baking, ensuring that all cheese bombs cook uniformly.
- Mixing bowl: Essential for combining your ingredients easily without mess.
- Pastry brush: Perfect for applying melted butter evenly over the biscuits for extra flavor.
Ingredients
For the Cheese Filling
- 1 can (8 count) Pillsbury refrigerated biscuits
- ½ cup shredded mozzarella cheese
- ½ cup shredded cheddar cheese
For the Garlic Butter Topping
- 2 tablespoons butter, melted
- 1 teaspoon garlic powder
- ½ teaspoon onion powder
- ½ teaspoon dried parsley
- ¼ teaspoon salt
- ¼ teaspoon black pepper
Additional Topping
- 2 tablespoons unsalted butter, melted
- 1 teaspoon garlic powder
- 1 teaspoon dried parsley
- ¼ teaspoon salt
How to Make Pillsbury Biscuit Garlic Butter Cheese Bombs
Step 1: Preheat the Oven
Preheat your oven to 375°F (190°C). This ensures that your cheese bombs cook evenly from the start.
Step 2: Prepare the Biscuit Dough
Open the can of Pillsbury refrigerated biscuits and separate them. Flatten each biscuit slightly using your fingers or a rolling pin.
Step 3: Add Cheese Filling
Place a spoonful of mozzarella and cheddar cheese in the center of each flattened biscuit. Be careful not to overfill; you want them to seal properly.
Step 4: Form the Cheese Bombs
Carefully fold the edges of each biscuit over the cheese filling. Pinch them together tightly to ensure they don’t open while baking.
Step 5: Brush with Garlic Butter Mixture
In a small bowl, combine melted butter, garlic powder, onion powder, dried parsley, salt, and black pepper. Use a pastry brush to coat each cheese bomb with this mixture.
Step 6: Bake
Place the filled biscuits on a baking sheet lined with parchment paper. Bake in the preheated oven for about 20 minutes or until golden brown.
Step 7: Serve Warm
Once baked, remove from oven and let cool for a few minutes before serving. Enjoy these cheesy delights warm!
How to Serve Pillsbury Biscuit Garlic Butter Cheese Bombs
Pillsbury Biscuit Garlic Butter Cheese Bombs are perfect for gatherings, parties, or as a delightful snack for movie night. Here are some creative serving ideas to enjoy these cheesy bites.
Pair with Dipping Sauces
- Marinara Sauce: This classic Italian sauce adds a tangy flavor that complements the cheese bombs beautifully.
- Ranch Dressing: A creamy ranch dip brings a cool contrast that balances the garlic butter richness.
- Garlic Aioli: Elevate your cheese bombs with a homemade or store-bought garlic aioli for an extra kick of flavor.
Serve Alongside Soups
- Tomato Soup: The acidity of tomato soup pairs well with the gooey, cheesy center of the bombs.
- Chicken Noodle Soup: A warm bowl of chicken noodle soup makes for a comforting meal alongside these cheesy treats.
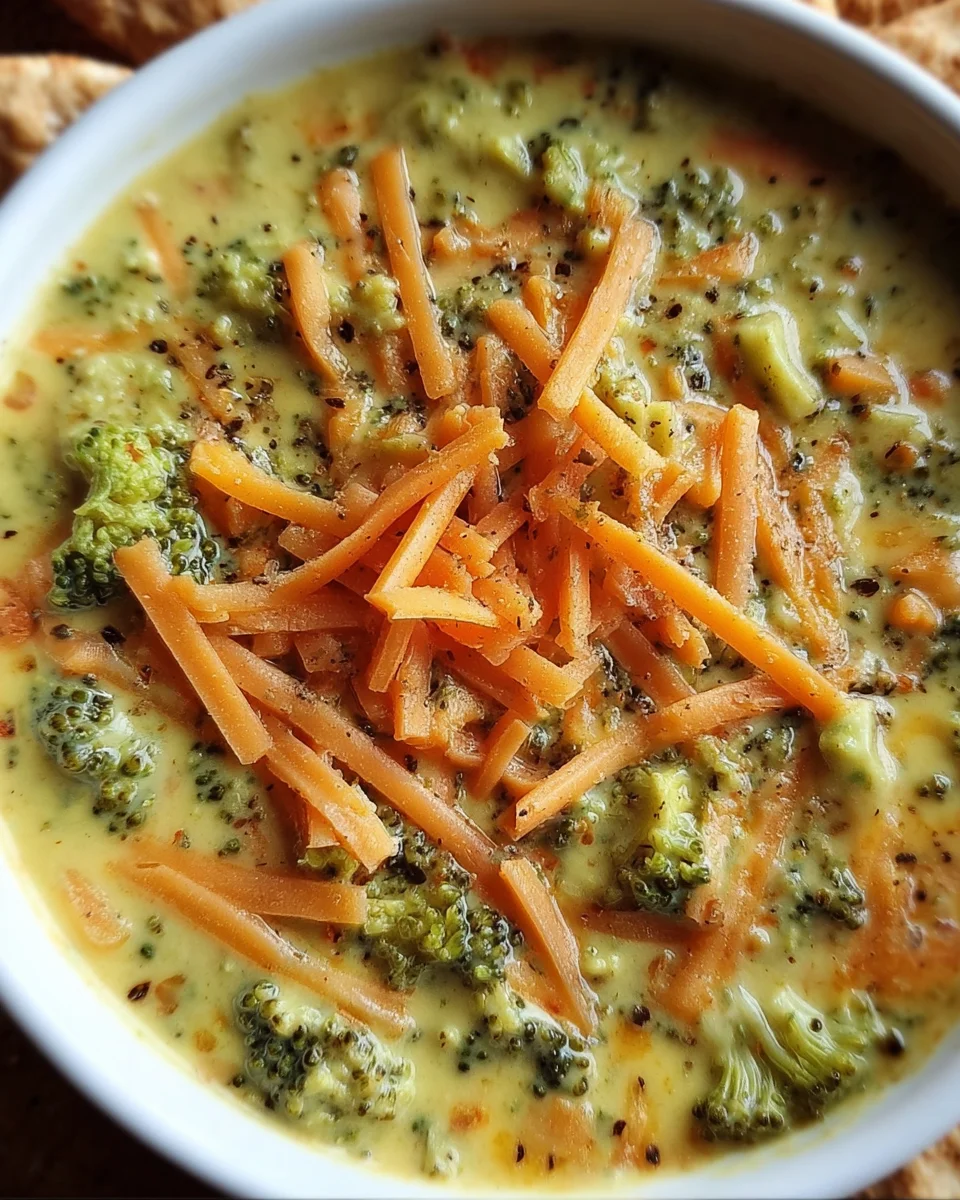
- Creamy Broccoli Soup: The hearty texture of broccoli soup goes hand-in-hand with the fluffy cheese bombs.
Create a Cheese Board
- Cheese Selection: Include a variety of cheeses to create a fun cheese board, and let guests pair their biscuits with different flavors.
- Charcuterie Elements: Add cured meats, olives, and crackers for a diverse taste experience that complements the cheese bombs.
Enjoy as an Appetizer
- Cocktail Parties: These garlic butter cheese bombs make excellent appetizers that will impress your guests at any gathering.
- Game Day Snacks: Serve them during game day for a finger-food option that everyone will love.
How to Perfect Pillsbury Biscuit Garlic Butter Cheese Bombs
Perfecting your Pillsbury Biscuit Garlic Butter Cheese Bombs is easy with just a few tips. Follow these suggestions to ensure they come out delicious every time.
- Use Fresh Ingredients: Always use fresh herbs and high-quality cheeses for the best flavor and texture.
- Don’t Overstuff: Be careful not to overfill each biscuit; it can make sealing them difficult and lead to leaks during baking.
- Preheat Your Oven Properly: Ensuring your oven is at the right temperature before baking helps achieve that golden-brown exterior.
- Brush with Butter Before Baking: Brushing melted butter on top enhances flavor and gives a beautiful shine to the finished cheese bombs.
- Allow to Cool Slightly Before Serving: Letting them cool for a few minutes helps set the cheese and makes them easier to handle.
Best Side Dishes for Pillsbury Biscuit Garlic Butter Cheese Bombs
Pairing side dishes with your Pillsbury Biscuit Garlic Butter Cheese Bombs can elevate your meal. Here are some great options that work well together.
- Garden Salad: A fresh garden salad adds crunch and balances out the richness of the cheese bombs.
- Coleslaw: The creamy texture of coleslaw provides a nice contrast, making it an enjoyable side dish.
- Roasted Vegetables: Roasted seasonal vegetables bring earthy flavors that complement the cheesy goodness perfectly.
- Potato Wedges: Crispy potato wedges seasoned with herbs offer another delightful finger food option.
- Fruit Platter: Fresh fruits provide sweetness and lighten up the meal, creating an inviting balance.
- Baked Beans: The savory sweetness of baked beans pairs nicely with the garlicky flavors of the cheese bombs.
Common Mistakes to Avoid
Avoiding common mistakes can elevate your Pillsbury Biscuit Garlic Butter Cheese Bombs. Here are some pitfalls to watch for:
- Overstuffing the biscuits: Adding too much cheese can cause the biscuits to burst while baking. Stick to the recommended amounts for best results.
- Not sealing properly: If you don’t seal the biscuit dough tightly, the filling may leak out during baking. Ensure edges are pinched securely.
- Skipping the garlic butter mixture: This step adds essential flavor. Don’t skip it; brush on generously for that irresistible taste.
- Using cold ingredients: Cold butter or cheese can affect how well they combine. Allow them to come to room temperature for better mixing.
- Ignoring cooking time: Each oven is different; keep an eye on the bombs as they bake. Remove them once they’re golden brown for optimal texture.
Storage & Reheating Instructions
Refrigerator Storage
- Store in an airtight container for up to 3 days.
- Allow them to cool completely before sealing, which prevents moisture buildup.
Freezing Pillsbury Biscuit Garlic Butter Cheese Bombs
- Freeze in a single layer on a baking sheet, then transfer to a freezer bag after solidifying.
- They can be stored frozen for up to 2 months.
Reheating Pillsbury Biscuit Garlic Butter Cheese Bombs
- Oven: Preheat to 350°F (175°C) and bake for about 10 minutes until warm and crisp.
- Microwave: Heat individually for 20-30 seconds. Note, this may soften the biscuit.
- Stovetop: Warm over medium heat in a skillet with a lid until heated through.
Frequently Asked Questions
Here are some FAQs regarding Pillsbury Biscuit Garlic Butter Cheese Bombs:
What is the best way to customize Pillsbury Biscuit Garlic Butter Cheese Bombs?
You can add cooked bacon, herbs, or different types of cheese like pepper jack or gouda for unique flavors.
Can I make Pillsbury Biscuit Garlic Butter Cheese Bombs ahead of time?
Yes, you can prepare them and refrigerate or freeze before baking. Just follow storage instructions above.
How do I ensure my Pillsbury Biscuit Garlic Butter Cheese Bombs are crispy?
Baking them at the right temperature and avoiding excess moisture will help achieve a crispy exterior.
What dips go well with Pillsbury Biscuit Garlic Butter Cheese Bombs?
Consider pairing them with marinara sauce, ranch dressing, or a creamy garlic dip for added flavor.
Final Thoughts
Pillsbury Biscuit Garlic Butter Cheese Bombs are not only easy to make but also incredibly versatile. You can customize them with various fillings and serve them as appetizers or snacks. Try these delightful bites at your next gathering!

Pillsbury Biscuit Garlic Butter Cheese Bombs
- Total Time: 30 minutes
- Yield: Makes about 8 servings 1x
Description
Pillsbury Biscuit Garlic Butter Cheese Bombs are the ultimate comfort snack that combines the flaky goodness of biscuits with a gooey, cheesy center, all drizzled in rich garlic butter. These irresistible bites are perfect for any occasion—whether it’s game day, a casual gathering, or simply when you crave something warm and cheesy. With minimal prep time and ingredients you probably already have at home, they’re as easy to make as they are delicious. Indulge your family and friends with these savory treats that are sure to impress.
Ingredients
- 1 can (8 count) Pillsbury refrigerated biscuits
- ½ cup shredded mozzarella cheese
- ½ cup shredded cheddar cheese
- 2 tablespoons butter (melted)
- 1 teaspoon garlic powder
- Salt and pepper to taste
Instructions
- Preheat your oven to 375°F (190°C).
- Separate and flatten each biscuit slightly.
- Place mozzarella and cheddar cheese in the center of each biscuit.
- Fold the edges over the filling and pinch to seal tightly.
- Brush with a mixture of melted butter, garlic powder, salt, and pepper.
- Bake on a lined baking sheet for about 20 minutes until golden brown.
- Allow to cool slightly before serving.
- Prep Time: 10 minutes
- Cook Time: 20 minutes
- Category: Appetizer
- Method: Baking
- Cuisine: American
Nutrition
- Serving Size: 1 serving
- Calories: 120
- Sugar: 1g
- Sodium: 200mg
- Fat: 8g
- Saturated Fat: 4g
- Unsaturated Fat: 3g
- Trans Fat: 0g
- Carbohydrates: 10g
- Fiber: 0g
- Protein: 3g
- Cholesterol: 15mg

