Grandma’s Apple Crisp
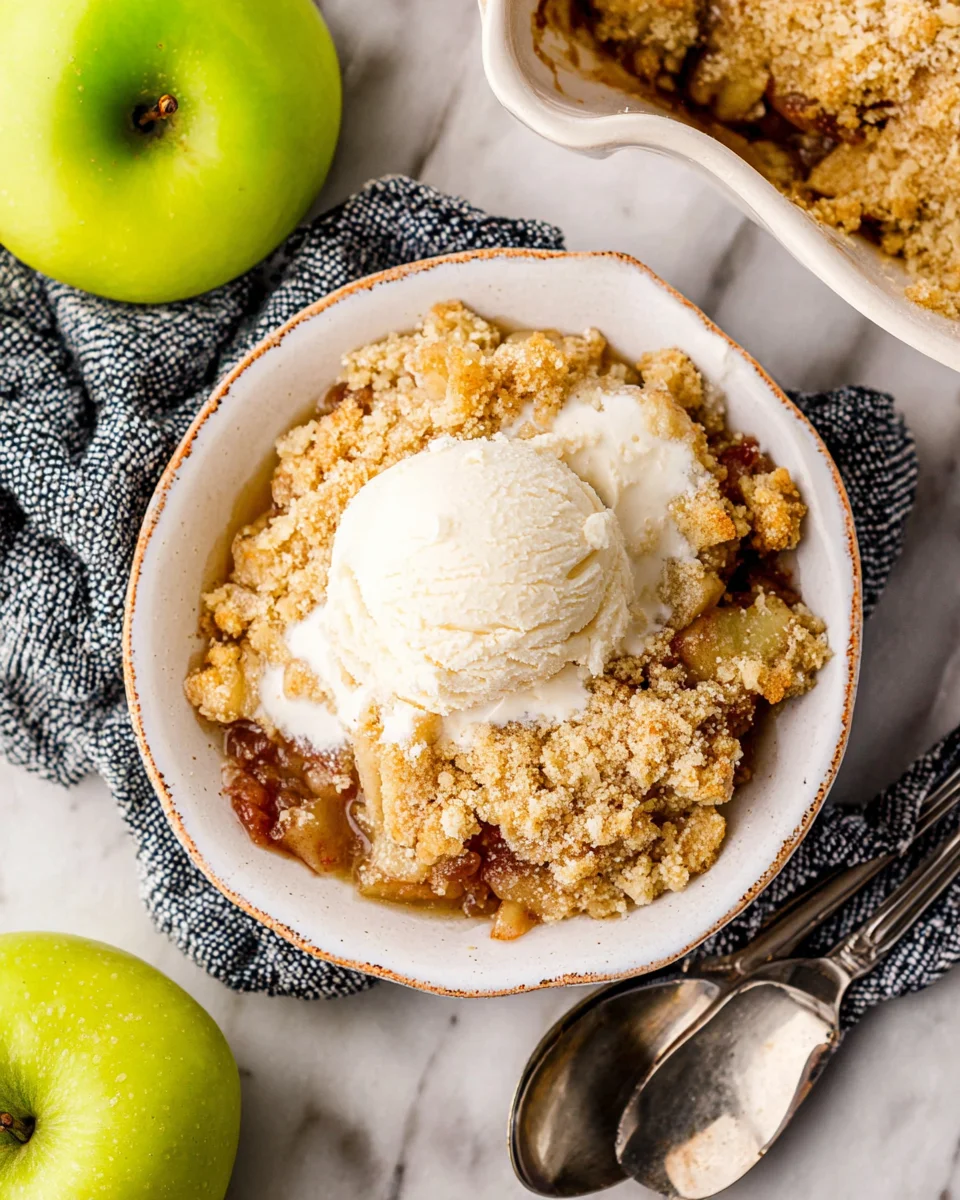
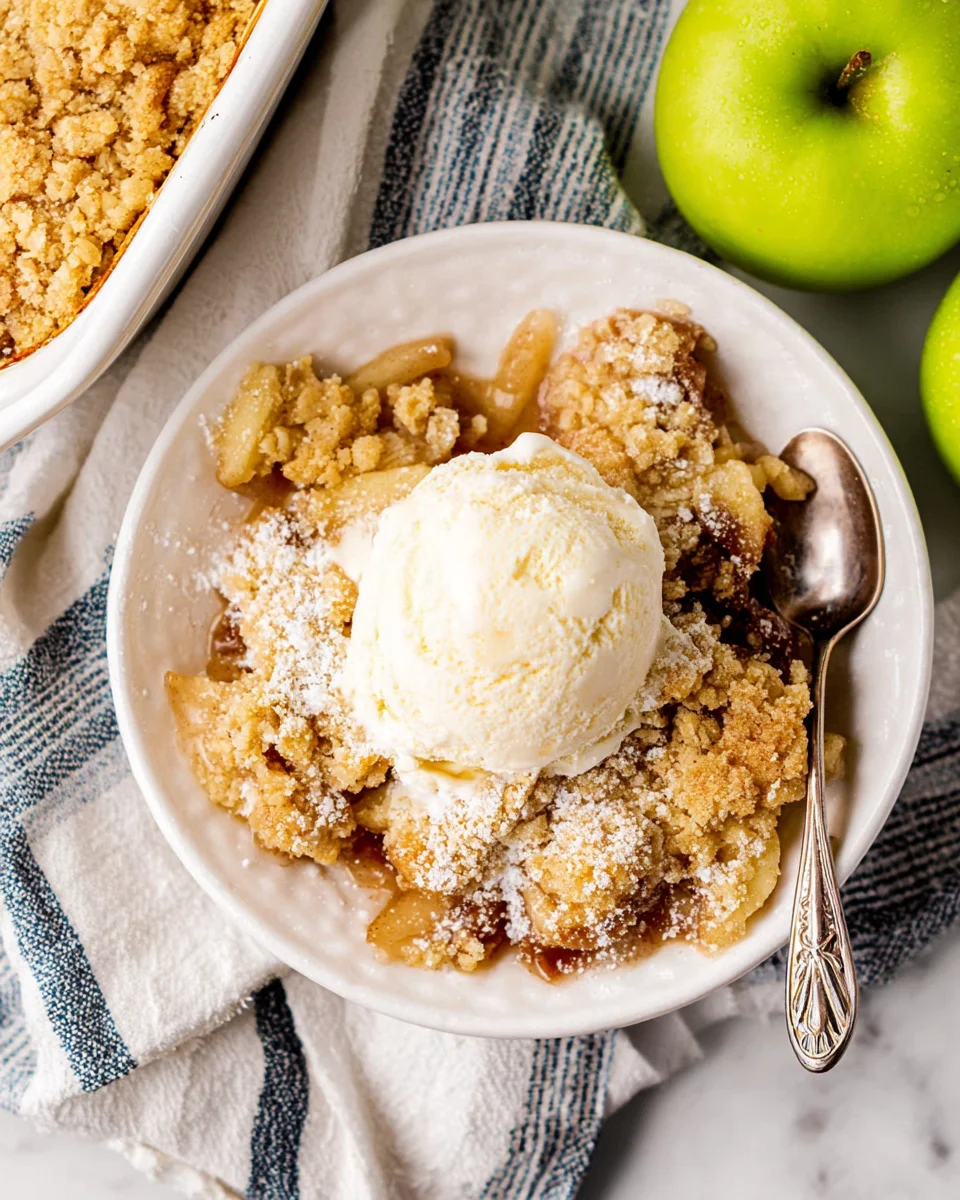
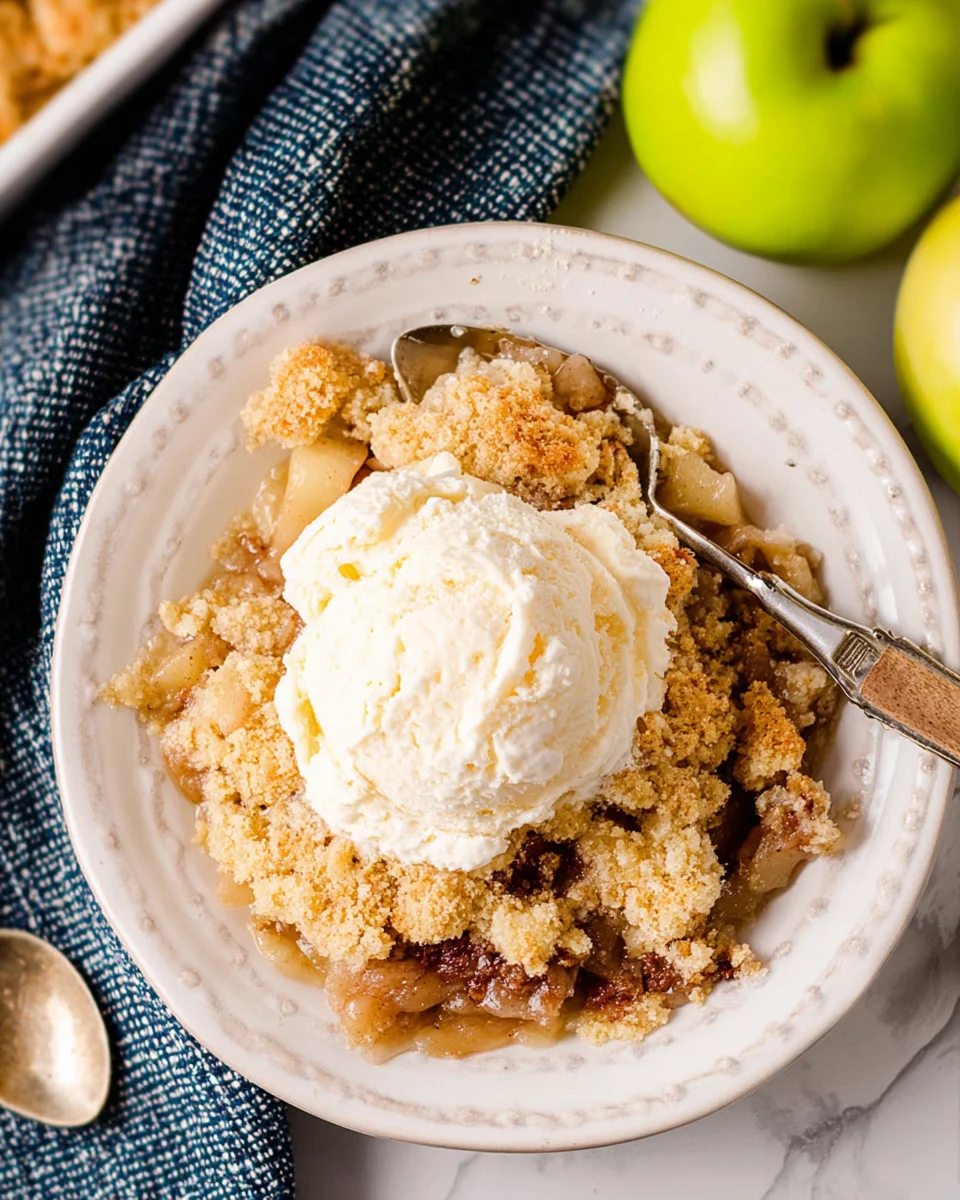
This Grandma’s Apple Crisp recipe is a delightful way to celebrate the flavors of fall. With tender, juicy apples beneath a sweet, buttery topping, this dessert is perfect for family gatherings, holiday feasts, or a cozy night in. The warm aromas that fill your kitchen will make it an instant favorite for any occasion.
Why You’ll Love This Recipe
- Classic Comfort: This recipe brings back nostalgic memories of home-cooked meals and family gatherings.
- Easy to Prepare: With simple ingredients and straightforward steps, even beginners can whip this up with ease.
- Deliciously Versatile: Enjoy it warm with ice cream, or serve it cold for breakfast the next day.
- Customizable Toppings: Feel free to add oats or nuts for extra crunch and flavor.
- Crowd-Pleasing Dessert: Perfect for potlucks and parties; everyone loves a good apple crisp!
Tools and Preparation
Before diving into the deliciousness of Grandma’s Apple Crisp, gathering the right tools will make your cooking experience smoother.
Essential Tools and Equipment
- 8×8 baking dish
- Mixing bowls
- Fork or pastry cutter
- Peeler (for apples)
Importance of Each Tool
- 8×8 baking dish: This size ensures even cooking and is perfect for dessert portions.
- Mixing bowls: Having multiple bowls helps keep your ingredients organized and makes mixing easier.
- Fork or pastry cutter: Great for blending butter into dry ingredients to achieve that perfect crumbly topping.
Ingredients
This old-fashioned recipe for Grandma’s Apple Crisp is loaded with tender apples and a buttery topping that is crispy and sweet. Serve it warm with a scoop of ice cream for a heavenly comfort food dessert.
For the Topping
- 3/4 cup granulated sugar
- 1/2 cup all-purpose flour
- 1/4 cup softened butter cut into cubes
- pinch Kosher salt
For the Filling
- 1/4 cup water
- 2 teaspoons vanilla
- 6 Granny Smith apples, peeled and thinly sliced
- 1 teaspoon ground cinnamon
- 1/2 teaspoon ground nutmeg
How to Make Grandma’s Apple Crisp
Step 1: Preheat the Oven
Heat your oven to 350 degrees Fahrenheit. Butter an 8×8 baking dish and set it aside to prepare for layering.
Step 2: Prepare the Topping
In a mixing bowl, combine the sugar, flour, and a pinch of salt. Add in the cubed butter. Using the back of a fork, mix until crumbly. Set this topping mixture aside.
Step 3: Layer the Apples
Layer the thinly sliced Granny Smith apples evenly in your prepared baking dish. In a small bowl, mix together the water and vanilla extract. Pour this mixture over the apples. Sprinkle ground cinnamon and nutmeg on top of the apple layer.
Step 4: Add Topping & Bake
Using a large spoon or your hands, spread the butter-flour topping evenly over the apple layer. Place the baking dish in your preheated oven and bake for approximately 50 minutes until golden brown and bubbly.
Step 5: Serve & Enjoy
Once baked, remove from the oven and let it rest for about 5 minutes before serving. Pair your delicious apple crisp with vanilla ice cream or whipped cream for an extra special treat!
How to Serve Grandma’s Apple Crisp
Grandma’s Apple Crisp is a delightful dessert that can be enjoyed in many ways. Whether you prefer it warm or cold, there are plenty of serving suggestions to enhance its flavor and texture.
With Ice Cream
- Vanilla Ice Cream: A classic choice that complements the warm apples beautifully.
- Cinnamon Ice Cream: Adds a spiced twist that pairs perfectly with the cinnamon in the crisp.
- Caramel Swirl Ice Cream: The sweetness of caramel enhances the apple flavor.
With Whipped Topping
- Homemade Whipped Cream: Light and airy, this topping adds a creamy contrast to the crisp.
- Flavored Whipped Cream: Consider using vanilla or cinnamon-flavored whipped cream for an extra kick.
As a Breakfast Treat
- Serve Cold with Yogurt: Enjoy leftover apple crisp chilled with a dollop of yogurt for a hearty breakfast.
- On Top of Oatmeal: Add a spoonful on your morning oatmeal for a delicious twist.
Drizzled with Sauce
- Caramel Sauce: Drizzle over warm apple crisp for added sweetness and richness.
- Chocolate Sauce: For chocolate lovers, this adds a decadent touch to the dessert.
How to Perfect Grandma’s Apple Crisp
To make your Grandma’s Apple Crisp even better, consider these helpful tips:
- Choose the Right Apples: Use tart Granny Smith apples for the best flavor balance.
- Adjust Sweetness: Taste your apples before adding sugar; adjust based on their tartness.
- Add Nuts for Crunch: Consider mixing in some chopped walnuts or pecans for an extra layer of texture.
- Use Fresh Spices: Freshly ground cinnamon and nutmeg will provide a more intense flavor than pre-ground versions.
- Let It Rest Before Serving: Allowing the crisp to sit will help set the filling and make serving easier.
Best Side Dishes for Grandma’s Apple Crisp
Pairing side dishes with Grandma’s Apple Crisp can elevate your meal. Here are some great options:
- Cheese Platter: A selection of cheeses like cheddar or brie can provide a savory contrast to the sweetness.
- Roasted Vegetables: Seasoned roasted vegetables add earthiness that balances out the dessert’s flavors.
- Salad Greens: A light salad with vinaigrette can cleanse the palate between bites of sweet crisp.
- Grilled Chicken: The savory flavor of grilled chicken complements the sweetness of apple crisp perfectly.
- Pork Chops: Juicy pork chops are an excellent match, creating a satisfying combination of flavors on your plate.
- Crusty Bread: Serve with warm, crusty bread to soak up any juices from the apple crisp.
Common Mistakes to Avoid
It’s easy to make mistakes when preparing Grandma’s Apple Crisp. Here are some common pitfalls to watch out for.
- Using the wrong apples: Opt for tart apples like Granny Smith for the best flavor. Sweet apples may lead to a mushy texture.
- Not measuring ingredients accurately: Always measure your sugar, flour, and spices precisely to maintain flavor balance.
- Skipping the butter: The buttery topping is essential for that crispy texture. Don’t forget to include it in your mixture!
- Overbaking the crisp: Keep a close eye on your dish while baking. Remove it when it’s golden brown to ensure a perfect finish.
- Serving too hot: Let your Grandma’s Apple Crisp rest for a few minutes before serving. This allows flavors to meld and prevents burns.
Storage & Reheating Instructions
Refrigerator Storage
- Store in an airtight container.
- Keeps well for up to 3 days.
Freezing Grandma’s Apple Crisp
- Allow to cool completely before freezing.
- Wrap tightly in plastic wrap or store in a freezer-safe container.
- Can be frozen for up to 3 months.
Reheating Grandma’s Apple Crisp
- Oven: Preheat to 350°F and heat for about 15-20 minutes until warm.
- Microwave: Heat individual portions on high for 30-60 seconds.
- Stovetop: Place in a pan over low heat, stirring occasionally until warmed through.
Frequently Asked Questions
Here are some frequently asked questions about Grandma’s Apple Crisp that might help you perfect this delicious dessert.
How can I customize Grandma’s Apple Crisp?
You can add nuts like walnuts or pecans for crunch, or mix in dried fruits like raisins for added sweetness.
Can I use other types of apples?
Absolutely! While Granny Smith is preferred, you can mix different apple varieties for a unique flavor profile.
What should I serve with Grandma’s Apple Crisp?
This dish pairs perfectly with vanilla ice cream or whipped cream. A drizzle of caramel sauce adds an extra touch!
Is Grandma’s Apple Crisp gluten-free?
To make it gluten-free, substitute all-purpose flour with a gluten-free blend. Ensure that all other ingredients are also gluten-free.
How do I know when it’s done baking?
Look for a golden-brown topping and bubbly juices around the edges. A toothpick inserted into the apples should come out tender.
Final Thoughts
Grandma’s Apple Crisp is not only comforting but also versatile. You can easily customize it with different toppings or fruits based on your preferences. Give this delightful recipe a try, and enjoy its warm, nostalgic flavors that bring joy to every bite!
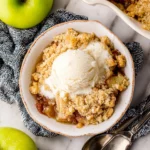
Grandma’s Apple Crisp
- Total Time: 1 hour 5 minutes
- Yield: Serves about 8 portions 1x
Description
Indulge in the heartwarming flavors of Grandma’s Apple Crisp, a timeless dessert that beautifully captures the essence of fall. This recipe features tender Granny Smith apples enveloped in a sweet, buttery topping that crisps to perfection in the oven. Whether you’re hosting a family gathering, enjoying a cozy night in, or looking for the ideal potluck contribution, this apple crisp is sure to become a beloved staple. Serve it warm with a scoop of vanilla ice cream or enjoy it as a delightful breakfast treat the next day. With its easy preparation and customizable options, Grandma’s Apple Crisp is the perfect way to celebrate comfort food at its finest.
Ingredients
- 6 Granny Smith apples
- 3/4 cup granulated sugar
- 1/2 cup all-purpose flour
- 1/4 cup softened butter
- 1 teaspoon ground cinnamon
- 1/2 teaspoon ground nutmeg
- Pinch of Kosher salt
- 1/4 cup water
- 2 teaspoons vanilla
Instructions
- Preheat your oven to 350°F (175°C). Butter an 8×8 baking dish.
- In a mixing bowl, combine 3/4 cup sugar, 1/2 cup flour, and a pinch of salt. Add cubed butter and mix until crumbly.
- Layer thinly sliced apples evenly in the baking dish. Mix together 1/4 cup water and 2 teaspoons vanilla; pour over the apples. Sprinkle with cinnamon and nutmeg.
- Spread the topping evenly over the apples and bake for about 50 minutes until golden brown and bubbly.
- Let cool for 5 minutes before serving warm with ice cream or whipped cream.
- Prep Time: 15 minutes
- Cook Time: 50 minutes
- Category: Dessert
- Method: Baking
- Cuisine: American
Nutrition
- Serving Size: 1 portion (150g)
- Calories: 210
- Sugar: 18g
- Sodium: 100mg
- Fat: 9g
- Saturated Fat: 5g
- Unsaturated Fat: 4g
- Trans Fat: 0g
- Carbohydrates: 34g
- Fiber: 3g
- Protein: 2g
- Cholesterol: 15mg

