Cheesy Bombs
These Cheesy Bombs are the ultimate snack or appetizer, perfect for any occasion. Whether you’re hosting a game night, preparing a family gathering, or simply craving something delicious, these cheesy garlic delights will impress everyone. With gooey mozzarella cheese wrapped in soft dough and brushed with rich garlic butter, these bombs are not just tasty but also incredibly easy to make.

Why You’ll Love This Recipe
- Easy to Prepare: These cheesy bombs require minimal effort, making them perfect for cooks of all skill levels.
- Flavor Explosion: The combination of melted mozzarella and garlic butter creates a mouthwatering experience.
- Versatile Snack: Serve them as appetizers at parties or enjoy them as a quick snack during movie nights.
- Crowd-Pleaser: Their cheesy goodness appeals to kids and adults alike, ensuring everyone will love them.
- Make Ahead: You can prepare the rolls ahead of time and bake them when ready to serve, saving you time.
Tools and Preparation
To make these Cheesy Bombs, you’ll need some essential tools that will streamline your cooking process and ensure great results.
Grab This Chef Knife Now - Almost Gone!
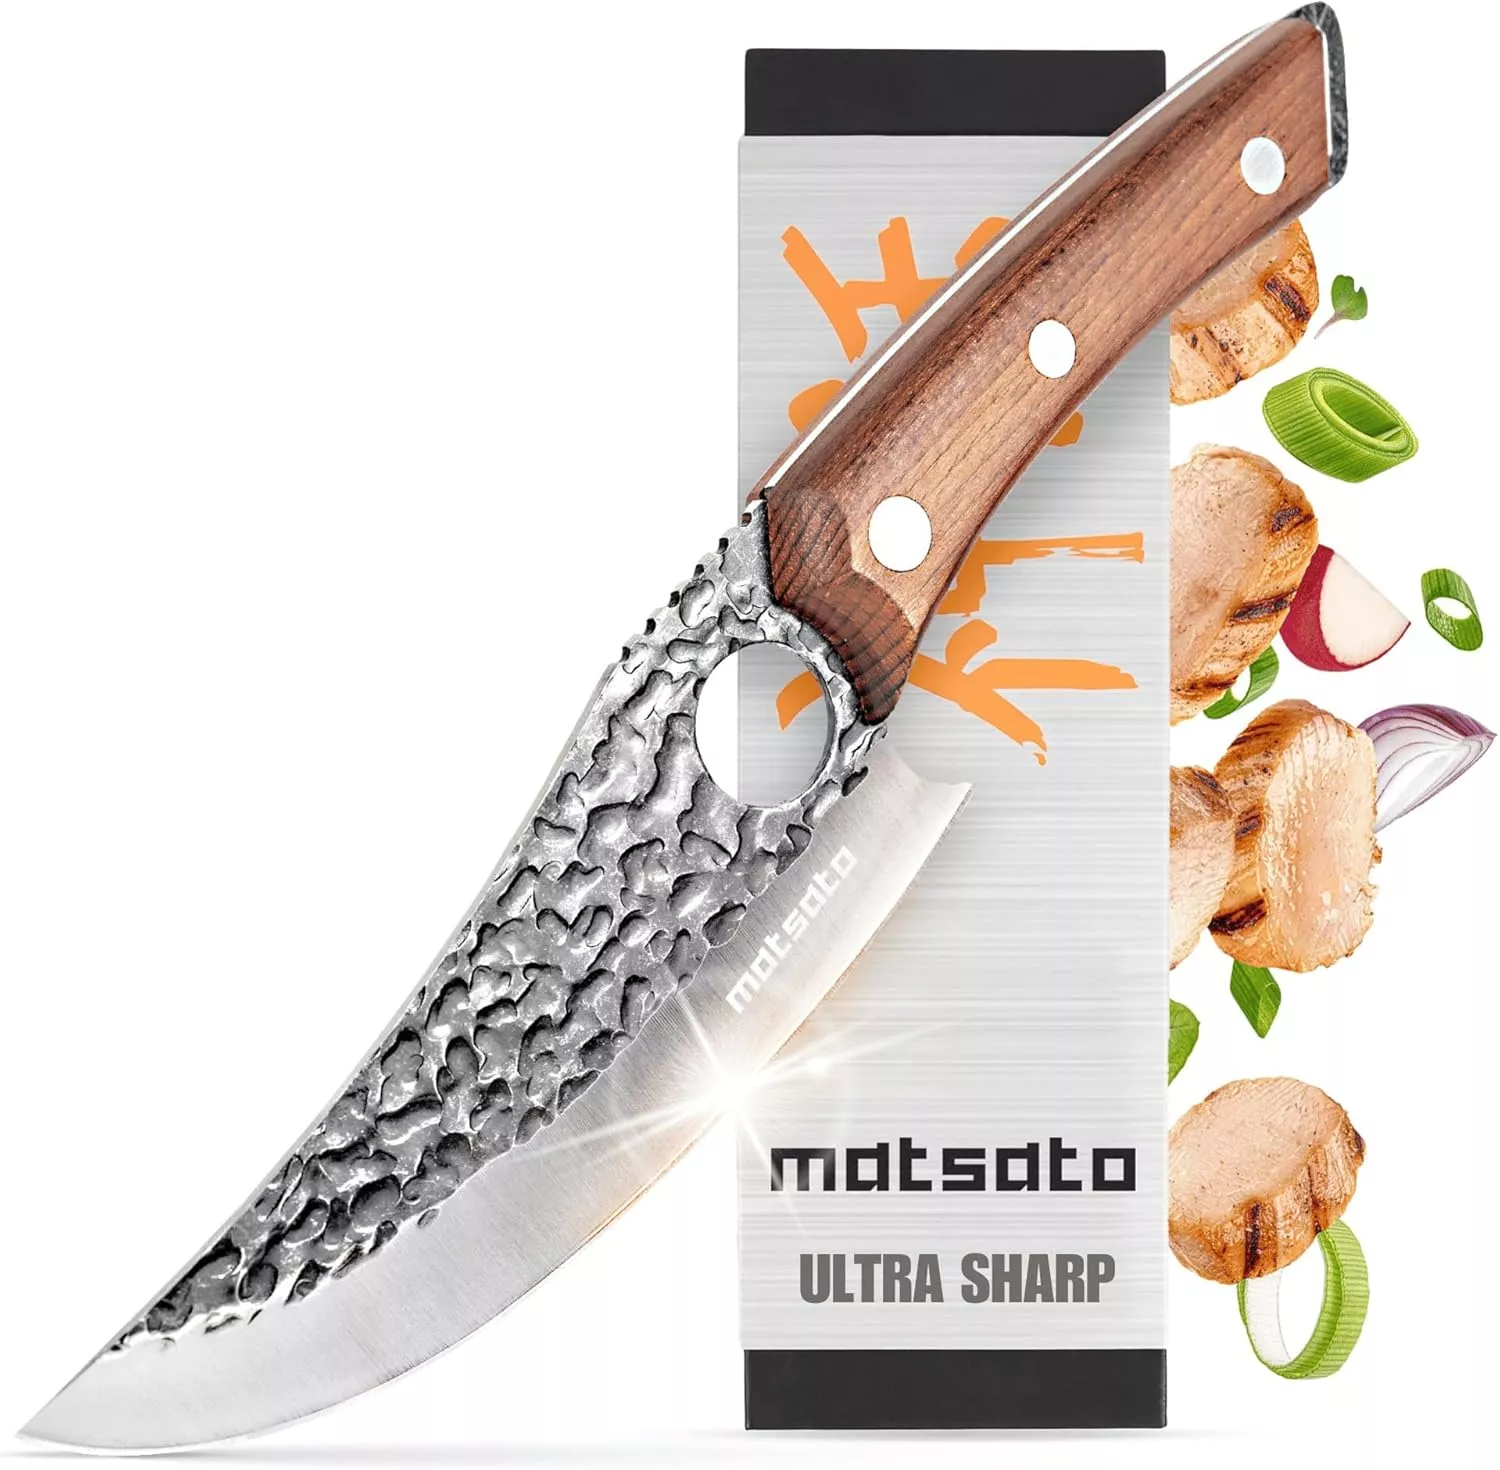
- Stays Razor-Sharp: Ice-hardened blade keeps its edge longer than ordinary knives
- Superior Grip Control: Unique finger hole design gives you perfect balance and safety
- Built to Last a Lifetime: Premium stainless steel blade with elegant beech wood handle
Customer Reviews ★★★★★
Essential Tools and Equipment
- Baking sheet
- Parchment paper
- Mixing bowl
- Microwave-safe dish
Importance of Each Tool
- Baking sheet: Provides an even surface for baking the cheesy bombs, ensuring they cook evenly.
- Parchment paper: Prevents sticking and makes cleanup a breeze after baking.
- Mixing bowl: Ideal for mixing the garlic butter ingredients together easily.
- Microwave-safe dish: Perfect for melting the butter quickly without any hassle.
Ingredients
These Cheesy Garlic Bombs are stuffed with mozzarella cheese and brushed with a rich garlic butter. Easy to make and perfect as a snack or appetizer.
Ingredients:
– 8 frozen Texas rolls (thawed, Rhodes brand recommended)
– 4 sticks mozzarella cheese, cut into 16 pieces
– 4 tablespoons salted butter, melted
– 2 cloves garlic, minced
– 1 tablespoon parsley flakes (freshly chopped or dried)
How to Make Cheesy Bombs
Step 1: Prepare the Rolls
- Place the frozen rolls on a plate.
- Cover with plastic wrap.
- Refrigerate for at least 4 hours or overnight.
Step 2: Preheat the Oven
Preheat your oven to 350°F (175°C) and line a baking sheet with parchment paper.
Step 3: Cut the Cheese
Cut the mozzarella sticks into approximately 1-inch pieces. Set aside.
Step 4: Shape the Dough
Using your hands, flatten each dough ball into a round disk about 4 inches wide.
Step 5: Add the Cheese Filling
Place two pieces of cheese in the center of each flattened dough disk.
Step 6: Seal the Bombs
Pinch the edges firmly together to seal in the cheese effectively. Place the sealed dough balls seam side down on the baking sheet.
Step 7: Bake
Bake the rolls for 9-11 minutes or until they start to brown lightly on top.
Step 8: Prepare Garlic Butter
While the rolls are baking, melt the butter in a microwave-safe dish. Stir in minced garlic and parsley flakes once melted.
Step 9: Brush with Garlic Butter
After removing the rolls from the oven, brush each one evenly with the garlic butter mixture.
Step 10: Cool Before Serving
Allow the cheesy garlic bombs to cool slightly before serving them warm. Enjoy!
How to Serve Cheesy Bombs
Cheesy Bombs are the perfect snack or appetizer that everyone will love. Here are some creative ways to serve these delightful treats.
With Dipping Sauces
- Marinara Sauce: A classic pairing, marinara sauce offers a tangy contrast to the cheesy goodness.
- Ranch Dressing: Creamy ranch adds a zesty flavor that complements the buttery garlic.
- Spicy Sriracha: For those who enjoy heat, a drizzle of spicy Sriracha elevates the flavor profile.
As Part of a Platter
- Cheese Board: Include assorted cheeses, crackers, and nuts for an indulgent spread.
- Veggie Platter: Fresh vegetables with hummus or ranch can balance the richness of the Cheesy Bombs.
At a Gathering
- Game Day Snack: Perfect for sports events, serve Cheesy Bombs alongside nachos and wings.
- Party Appetizer: They are great finger foods for parties, making them easy for guests to grab and enjoy.

How to Perfect Cheesy Bombs
Making perfect Cheesy Bombs is all about technique. Follow these tips to ensure they turn out delicious every time.
- Use Fresh Ingredients: Fresh mozzarella and quality butter enhance the flavor immensely.
- Seal Carefully: Make sure to pinch the edges tightly so cheese doesn’t leak during baking.
- Watch Baking Time: Keep an eye on them; overbaking can lead to dryness, while underbaking might leave them doughy.
- Add Seasonings: Experiment with different herbs and spices in the garlic butter for added flavor depth.
Best Side Dishes for Cheesy Bombs
Cheesy Bombs pair wonderfully with various side dishes that complement their rich flavors. Here are some great options.
- Caesar Salad: Crisp romaine lettuce with creamy dressing adds freshness.
- Garlic Bread: More garlic is always a good idea; serve alongside for extra indulgence.
- Coleslaw: A crunchy coleslaw provides a refreshing contrast to the hot cheesy bites.
- Potato Wedges: Crispy potato wedges seasoned with herbs make a hearty side.
- Stuffed Mushrooms: These savory bites echo the cheesy theme while adding a gourmet touch.
- Fruit Salad: A light fruit salad can cleanse the palate and add sweetness to your meal.
Common Mistakes to Avoid
Making Cheesy Bombs is simple, but there are a few common mistakes to watch out for to ensure your cheesy treats turn out perfectly.
- Not Thawing Rolls Properly: Ensure the frozen Texas rolls are thoroughly thawed before use. This allows them to rise and become fluffy.
- Overstuffing with Cheese: While it’s tempting to add more cheese, overstuffing can cause the bombs to burst during baking. Stick to the recommended amount for best results.
- Neglecting to Seal Edges: If the edges of the dough aren’t pinched well, the cheese will leak out while baking. Take your time to seal each bomb securely.
- Skipping the Garlic Butter: The garlic butter adds essential flavor. Don’t skip this step; brush it generously on the bombs after baking for maximum taste.
- Baking at Incorrect Temperature: Make sure your oven is preheated to 350°F. Baking at a lower temperature may result in undercooked dough.

Storage & Reheating Instructions
Refrigerator Storage
- Store leftover cheesy bombs in an airtight container in the fridge.
- They will stay fresh for up to 3 days.
Freezing Cheesy Bombs
- Place unbaked cheesy bombs on a baking sheet and freeze until solid.
- Transfer them to a freezer-safe bag or container; they can be frozen for up to 2 months.
Reheating Cheesy Bombs
- Oven: Preheat the oven to 350°F and bake for about 5-7 minutes until heated through.
- Microwave: Heat each bomb for about 20-30 seconds, but this may make them softer rather than crispy.
- Stovetop: Warm them in a skillet over low heat, covered, for about 3-4 minutes until warmed through.
Frequently Asked Questions
Here are some common questions about making Cheesy Bombs that you might find helpful.
How do I make Cheesy Bombs ahead of time?
You can prepare the cheesy bombs and store them in the fridge or freezer before baking. Just remember to adjust baking times based on whether they were frozen or refrigerated.
What type of cheese works best for Cheesy Bombs?
While mozzarella is traditional, you can experiment with other cheeses like cheddar or pepper jack for added flavor and spice.
Can I customize my Cheesy Bombs?
Absolutely! Feel free to add herbs, spices, or even cooked meats inside your cheesy bombs for unique flavors.
How long do Cheesy Bombs last?
When stored properly, cheesy bombs can last up to three days in the fridge and two months in the freezer.
Final Thoughts
These Cheesy Bombs are a delightful treat that anyone can enjoy. Their rich flavor and gooey texture make them perfect as snacks or appetizers. Plus, they are highly customizable—try adding different cheeses or spices! Give this easy recipe a try, and you’ll soon have a favorite dish everyone will love!

Cheesy Bombs
- Total Time: 25 minutes
- Yield: Makes approximately 8 servings 1x
Description
Cheesy Bombs are the ultimate comfort food, perfect for any occasion. These delightful bites feature gooey mozzarella wrapped in soft dough and brushed with rich garlic butter, creating a flavor experience that will impress family and friends. Whether you’re hosting a game night, enjoying a casual gathering, or simply craving something delicious, these cheesy treats are incredibly easy to make, ensuring that even novice cooks can whip them up with confidence.
Ingredients
- 8 frozen Texas rolls (thawed)
- 4 sticks of mozzarella cheese (cut into 16 pieces)
- 4 tablespoons salted butter (melted)
- 2 cloves garlic (minced)
- 1 tablespoon parsley flakes
Instructions
- Thaw the frozen rolls in the refrigerator for at least 4 hours or overnight.
- Preheat your oven to 350°F (175°C) and line a baking sheet with parchment paper.
- Cut mozzarella into about 1-inch pieces and set aside.
- Flatten each dough ball into a round disk approximately 4 inches wide.
- Place two cheese pieces in the center of each disk, then pinch the edges together to seal.
- Arrange the bombs seam side down on the baking sheet.
- Bake for 9-11 minutes or until lightly browned.
- While baking, melt butter in a microwave-safe dish and stir in minced garlic and parsley.
- Brush baked bombs with the garlic butter mixture before allowing them to cool slightly.
- Prep Time: 15 minutes
- Cook Time: 10 minutes
- Category: Appetizer
- Method: Baking
- Cuisine: American
Nutrition
- Serving Size: 1 Cheesy Bomb (50g)
- Calories: 150
- Sugar: 1g
- Sodium: 250mg
- Fat: 8g
- Saturated Fat: 5g
- Unsaturated Fat: 2g
- Trans Fat: 0g
- Carbohydrates: 14g
- Fiber: 1g
- Protein: 5g
- Cholesterol: 15mg


