Pumpkin Pie Protein Balls
Pumpkin Pie Protein Balls are the perfect healthy snack for any occasion. These delightful bites combine the rich flavors of pumpkin, warm spices, and a touch of sweetness from white chocolate chips, all while packing a protein punch. Ideal for meal prep or a post-workout treat, these no-bake snacks are quick to prepare and sure to satisfy your cravings.

Why You’ll Love This Recipe
- Quick Preparation: With only 10 minutes needed, these protein balls can be made in a flash.
- Flavorful Indulgence: Enjoy the comforting taste of pumpkin pie without the guilt.
- Healthy Ingredients: Packed with protein and wholesome ingredients, they make for a nutritious snack.
- Versatile Treat: Perfect for breakfast, snacks, or even dessert; they’re suitable for various occasions.
- No-Bake Convenience: Skip the oven! Mix and roll—it’s that easy!
Tools and Preparation
Before diving into the deliciousness of Pumpkin Pie Protein Balls, gather your tools to streamline the process.
Grab This Chef Knife Now - Almost Gone!
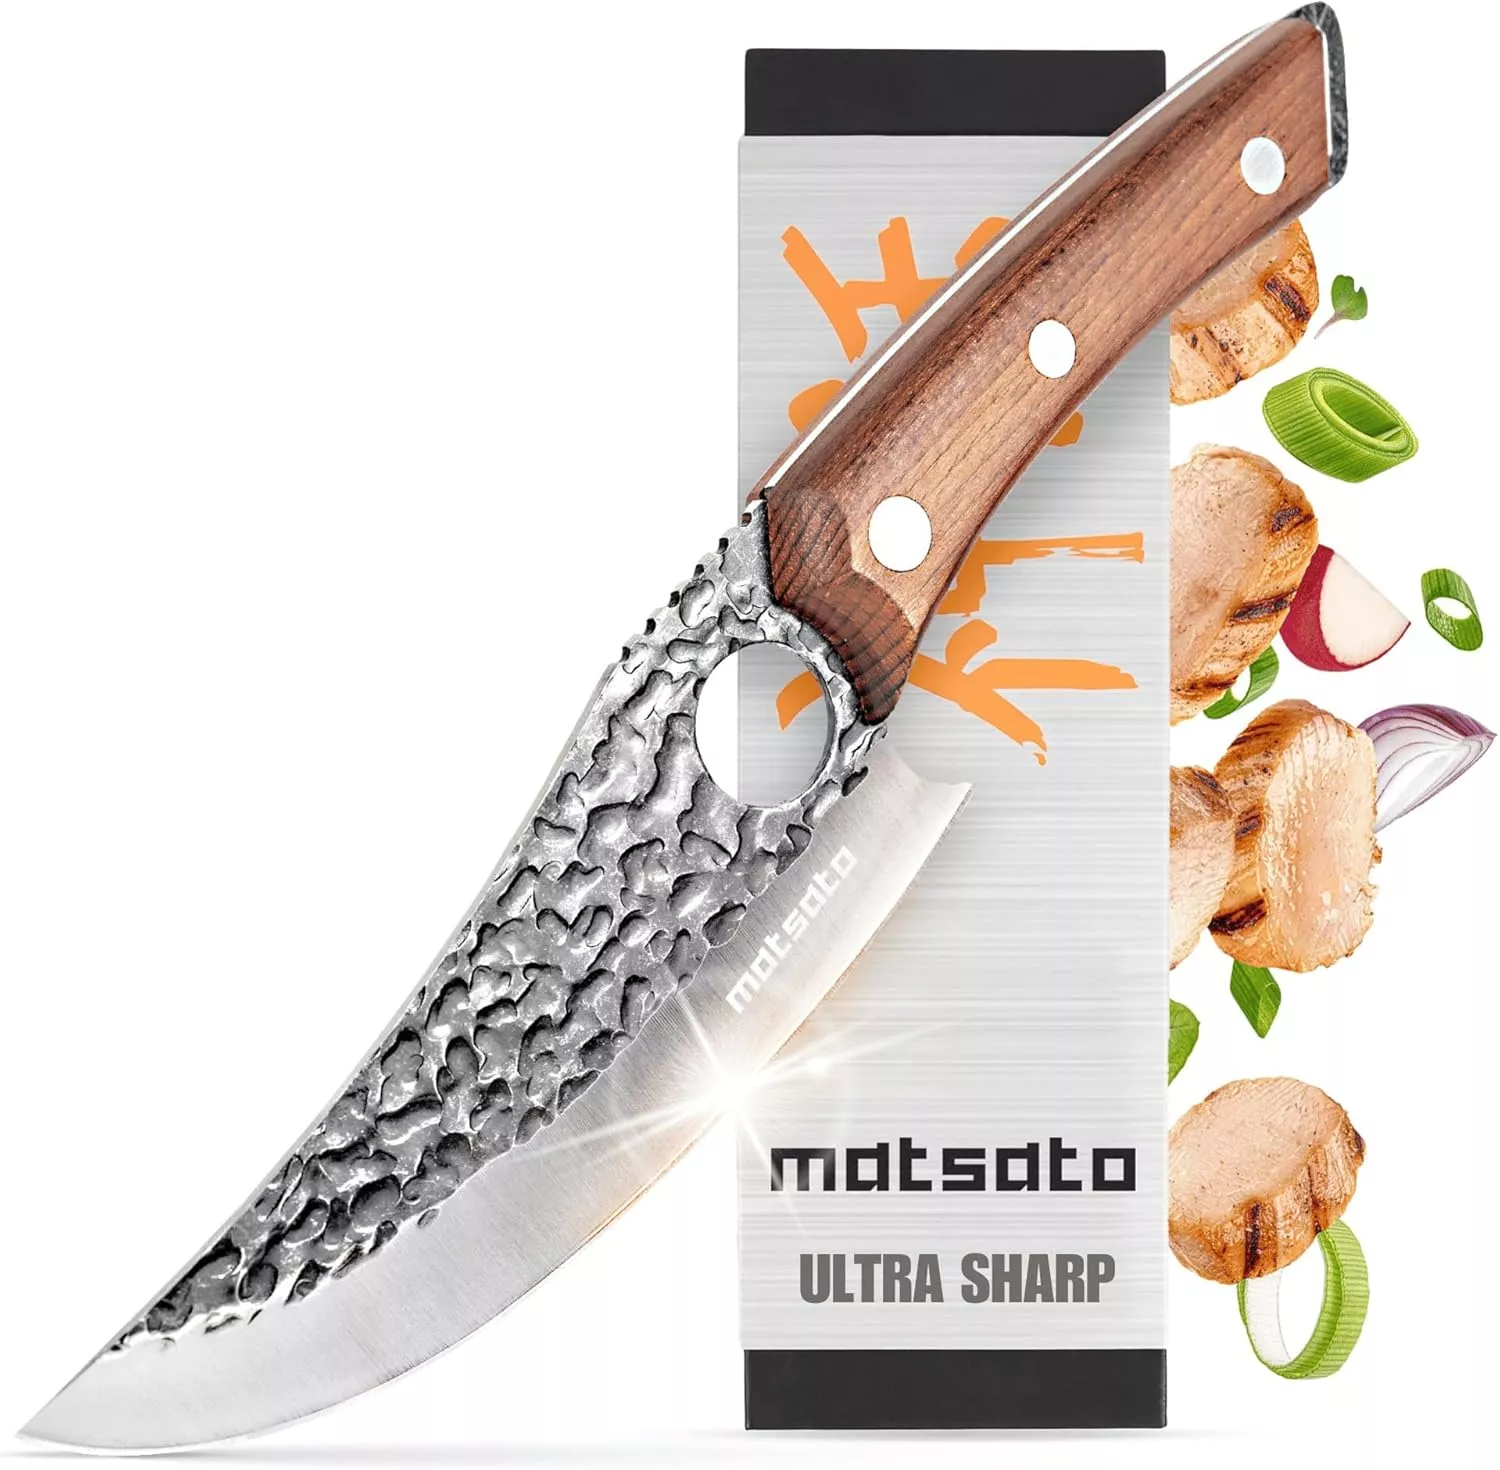
- Stays Razor-Sharp: Ice-hardened blade keeps its edge longer than ordinary knives
- Superior Grip Control: Unique finger hole design gives you perfect balance and safety
- Built to Last a Lifetime: Premium stainless steel blade with elegant beech wood handle
Customer Reviews ★★★★★
Essential Tools and Equipment
- Mixing bowl
- Measuring cups
- Measuring spoons
- Rubber spatula
- Airtight container
Importance of Each Tool
- Mixing bowl: A spacious bowl ensures you can mix all ingredients thoroughly without mess.
- Rubber spatula: This tool helps to fold in ingredients smoothly, ensuring an even mixture.
- Airtight container: Storing your protein balls in this will keep them fresh longer.
Ingredients
For the Base
- 1 cup natural almond butter
- 5 tbsp pumpkin purée
- 3–4 tbsp maple syrup
- 1 tbsp milk of choice
- 1 tsp vanilla extract
For the Protein Boost
- 1/2 cup vanilla pea protein
- 2 tsp pumpkin pie spice
For Extra Flavor
- 1/4 cup mini white chocolate chips
How to Make Pumpkin Pie Protein Balls
Step 1: Combine the Base Ingredients
In a mixing bowl, combine the following:
1. 1 cup natural almond butter
2. 5 tbsp pumpkin purée
3. 3–4 tbsp maple syrup
4. 1 tbsp milk of choice
5. 1 tsp vanilla extract
Mix until smooth and fully combined.
Step 2: Add Protein and Spices
Add:
1. 1/2 cup vanilla pea protein
2. 2 tsp pumpkin pie spice
Mix until there are no clumps remaining. If the mixture feels too sticky, add an extra 2–3 tablespoons of pea protein to adjust consistency.
Step 3: Fold in White Chocolate Chips
Gently fold in:
1/4 cup mini white chocolate chips
Ensure they are evenly distributed throughout the mixture.
Step 4: Roll into Balls
Roll spoonfuls of the mixture into 16–20 balls, depending on your desired size.
Step 5: Store Properly
Store any extras in an airtight container in the refrigerator for freshness.
Enjoy these delicious Pumpkin Pie Protein Balls as a satisfying snack any time of day!
How to Serve Pumpkin Pie Protein Balls
Pumpkin Pie Protein Balls are a delightful and nutritious snack that can be enjoyed in various ways. Whether you need a quick energy boost or a sweet treat, these protein-packed bites are versatile enough to fit into any occasion.
As a Snack on-the-Go
- Perfect for busy days, these balls can be easily packed in a lunchbox or your gym bag for a quick energy boost.
With Coffee or Tea
- Pairing these protein balls with your favorite coffee or tea makes for a satisfying afternoon treat.
In Breakfast Bowls
- Crumble the protein balls over yogurt or oatmeal for an extra layer of flavor and nutrition in your breakfast.
As Dessert
- Enjoy them as a guilt-free dessert option that satisfies your sweet tooth without the added sugars found in typical sweets.
With Fresh Fruit
- Serve alongside apple slices or banana halves for added freshness and flavor contrast.

How to Perfect Pumpkin Pie Protein Balls
To achieve the ideal texture and flavor in your Pumpkin Pie Protein Balls, consider these tips:
- Use fresh pumpkin purée – This enhances the flavor and keeps the balls moist.
- Adjust sweetness – Depending on your preference, feel free to increase or decrease the maple syrup.
- Mix thoroughly – Ensure all ingredients are well combined to avoid clumpy protein balls.
- Chill before serving – Refrigerating them for at least 30 minutes helps firm up the texture.
- Experiment with add-ins – Consider adding nuts or seeds for extra crunch and nutrition.
- Store properly – Keep them in an airtight container in the fridge to maintain freshness.
Best Side Dishes for Pumpkin Pie Protein Balls
Pumpkin Pie Protein Balls pair wonderfully with various side dishes that complement their flavors. Here are some great options:
- Apple Slices – Crisp and refreshing, they provide a nice contrast to the creamy texture of the protein balls.
- Greek Yogurt – A dollop of Greek yogurt adds creaminess and boosts your protein intake further.
- Carrot Sticks – Crunchy and slightly sweet, carrot sticks make a healthy pairing with these snacks.
- Cottage Cheese – The mild flavor of cottage cheese complements the spices in pumpkin pie well.
- Rice Cakes – Light and airy, rice cakes can serve as a base for spreading nut butter alongside the protein balls.
- Trail Mix – For added crunch, serve with a mix of nuts, seeds, and dried fruits that enhance both taste and nutrition.
- Celery Sticks with Hummus – This duo brings together savory and sweet elements that work perfectly together.
- Popcorn – Air-popped popcorn seasoned with cinnamon can be a fun, crunchy side to enjoy with your protein balls.
Common Mistakes to Avoid
Making Pumpkin Pie Protein Balls can be a breeze, but there are a few pitfalls to watch out for.
- Skipping the measurements: Not measuring ingredients accurately can lead to inconsistent results. Use measuring cups and spoons for precision.
- Overmixing the dough: Mixing too much may result in a tough texture. Stir until combined, but don’t overdo it!
- Ignoring chill time: If you don’t let the mixture rest, the balls may be too sticky to roll. Consider chilling for 30 minutes before rolling if necessary.
- Not using enough protein: If your mixture is too wet, it won’t hold its shape. Adjust by adding more pea protein as needed.
- Forgetting about storage options: Storing your protein balls improperly can affect freshness. Use an airtight container in the fridge for best results.

Storage & Reheating Instructions
Refrigerator Storage
- Store in an airtight container.
- Keep them in the refrigerator for up to 1 week.
Freezing Pumpkin Pie Protein Balls
- Place them in an airtight container or freezer-safe bag.
- Freeze for up to 3 months for optimal freshness.
Reheating Pumpkin Pie Protein Balls
- Oven: Preheat to 350°F (175°C) and bake on a baking sheet for 5-7 minutes.
- Microwave: Heat one ball at a time for 10-15 seconds until warm.
- Stovetop: Place in a skillet over low heat, turning occasionally until warmed through.
Frequently Asked Questions
Here are some common questions about making Pumpkin Pie Protein Balls.
How do I make Pumpkin Pie Protein Balls vegan?
You can substitute almond butter with sunflower seed butter and ensure your protein powder is plant-based.
What can I substitute for almond butter?
If you have nut allergies, try sunflower seed butter or tahini as alternatives.
Can I add other mix-ins to my Pumpkin Pie Protein Balls?
Absolutely! Feel free to customize with nuts, seeds, or dried fruit for added texture and flavor.
How long do Pumpkin Pie Protein Balls last?
When stored properly in the refrigerator, they will stay fresh for about one week.
Are Pumpkin Pie Protein Balls good for meal prep?
Yes! They’re perfect as a quick snack and can be made ahead of time for convenience.
Final Thoughts
These Pumpkin Pie Protein Balls are not only delicious but also versatile! You can easily customize them with your favorite ingredients. Whether you’re looking for a quick snack or a meal prep option, these bites are sure to satisfy your cravings. Give this recipe a try and enjoy a healthy treat that brings warmth and joy!

Pumpkin Pie Protein Balls
- Total Time: 10 minutes
- Yield: Approximately 16 servings 1x
Description
Pumpkin Pie Protein Balls are a deliciously healthy snack that captures the essence of fall in every bite. These no-bake, protein-packed treats blend creamy almond butter, rich pumpkin purée, warm spices, and sweet white chocolate chips to create an indulgent snack that’s perfect for any occasion. Whether you’re in need of a quick energy boost on a busy day or looking for a nutritious dessert option, these protein balls deliver flavor and satisfaction without the guilt. With just 10 minutes of preparation time, they make for an easy meal prep solution or delightful post-workout treat. Enjoy them as a wholesome snack on-the-go, paired with your favorite coffee, or crumbled over yogurt for an extra nutritious breakfast.
Ingredients
- 1 cup natural almond butter
- 5 tbsp pumpkin purée
- 3–4 tbsp maple syrup
- 1 tbsp milk of choice
- 1 tsp vanilla extract
- 1/2 cup vanilla pea protein
- 2 tsp pumpkin pie spice
- 1/4 cup mini white chocolate chips
Instructions
- In a mixing bowl, combine almond butter, pumpkin purée, maple syrup, milk, and vanilla extract. Mix until smooth.
- Add vanilla pea protein and pumpkin pie spice; mix until clump-free. Adjust with additional pea protein if necessary.
- Gently fold in mini white chocolate chips.
- Roll spoonfuls into 16–20 balls based on desired size.
- Store in an airtight container in the refrigerator for freshness.
- Prep Time: 10 minutes
- Cook Time: 0 minutes
- Category: Snack
- Method: No-Bake
- Cuisine: American
Nutrition
- Serving Size: 1 serving
- Calories: 100
- Sugar: 3g
- Sodium: 50mg
- Fat: 6g
- Saturated Fat: 1g
- Unsaturated Fat: 5g
- Trans Fat: 0g
- Carbohydrates: 9g
- Fiber: 2g
- Protein: 4g
- Cholesterol: 0mg


